Nginx 社区提供 nginx-module-otel 动态模块,支持 OpenTelemetry 标准上报可观测数据,安装此模块后,通过简单的配置可以接入应用性能监控 APM。
前提条件
操作系统要求
以下操作系统经过测试确认支持 Nginx 接入,对于未在该范围内的操作系统,由于在底层架构、系统配置及运行环境等方面存在差异性,我们无法对其接入效果及稳定性予以保证。
发行版 | 版本 | 架构 |
Ubuntu | 20.04、22.04、24.04、24.10 | x86_64、aarch64/arm64 |
RHEL 及其衍生版(CentOS 等) | 8.x、9.x | x86_64、aarch64/arm64 |
Alpine | 3.18、3.19、3.20、3.21 | x86_64、aarch64/arm64 |
Debian | 11.x、12.x | x86_64、aarch64/arm64 |
SLES | 15 SP2+ | x86_64 |
Nginx 版本要求
请确保已经安装 Nginx,且版本不低于1.23.4。不满足版本要求的 Nginx 可能无法安装 nginx-module-otel 动态模块。
获取接入点和 token
1. 登录 腾讯云可观测平台 控制台。
2. 在左侧菜单栏中选择应用性能监控 > 应用列表,单击接入应用。
3. 在右侧弹出的数据接入抽屉框中,单击 Go 语言。
4. 在接入 Go 应用页面,选择您所要接入的地域以及业务系统。
5. 选择接入协议类型为 OpenTelemetry。
6. 选择您所想要的上报方式,获取接入点和 Token。
说明:
内网上报:使用此上报方式,您的服务需运行在腾讯云 VPC。通过 VPC 直接联通,在避免外网通信的安全风险同时,可以节省上报流量开销。
外网上报:当您的服务部署在本地或非腾讯云 VPC 内,可以通过此方式上报数据。请注意外网通信存在安全风险,同时也会造成一定上报流量费用。
编译动态模块 nginx-module-otel
目前,在 Nginx 社区已经发布的 nginx-module-otel 版本中,不支持对 Resource Attributes 的指定。而接入 APM 需要在 Resource Attributes 中填入正确的 token,这导致我们无法直接使用 Nginx 官方仓库中已经发布的 nginx-module-otel 模块。事实上,在 Nginx 社区的源代码仓库中,最新的代码已经支持了对 Resource Attributes 的指定,因此我们基于社区的最新代码,自行编译 nginx-module-otel 即可。本文以 Ubuntu 系统为例,介绍编译流程。
1. 获取 Nginx 的 configure 参数(编译时的所有配置选项)。
nginx -V
输出示例:
nginx version: nginx/1.26.2built by gcc 11.4.0 (Ubuntu 11.4.0-1ubuntu1~22.04)built with OpenSSL 3.0.2 15 Mar 2022TLS SNI support enabledconfigure arguments: --prefix=/etc/nginx --sbin-path=/usr/sbin/nginx --modules-path=/usr/lib/nginx/modules --conf-path=/etc/nginx/nginx.conf --error-log-path=/var/log/nginx/error.log --http-log-path=/var/log/nginx/access.log --pid-path=/var/run/nginx.pid --lock-path=/var/run/nginx.lock --http-client-body-temp-path=/var/cache/nginx/client_temp --http-proxy-temp-path=/var/cache/nginx/proxy_temp --http-fastcgi-temp-path=/var/cache/nginx/fastcgi_temp --http-uwsgi-temp-path=/var/cache/nginx/uwsgi_temp --http-scgi-temp-path=/var/cache/nginx/scgi_temp --user=nginx --group=nginx --with-compat --with-file-aio --with-threads --with-http_addition_module --with-http_auth_request_module --with-http_dav_module --with-http_flv_module --with-http_gunzip_module --with-http_gzip_static_module --with-http_mp4_module --with-http_random_index_module --with-http_realip_module --with-http_secure_link_module --with-http_slice_module --with-http_ssl_module --with-http_stub_status_module --with-http_sub_module --with-http_v2_module --with-http_v3_module --with-mail --with-mail_ssl_module --with-stream --with-stream_realip_module --with-stream_ssl_module --with-stream_ssl_preread_module --with-cc-opt='-g -O2 -ffile-prefix-map=/data/builder/debuild/nginx-1.26.2/debian/debuild-base/nginx-1.26.2=. -flto=auto -ffat-lto-objects -flto=auto -ffat-lto-objects -fstack-protector-strong -Wformat -Werror=format-security -Wp,-D_FORTIFY_SOURCE=2 -fPIC' --with-ld-opt='-Wl,-Bsymbolic-functions -flto=auto -ffat-lto-objects -flto=auto -Wl,-z,relro -Wl,-z,now -Wl,--as-needed -pie'
2. 记录下输出结果中的版本号(nginx version)和配置参数 (configure arguments)。根据版本号,前往 Nginx 官方仓库 下载对应版本的 Nginx 源码。
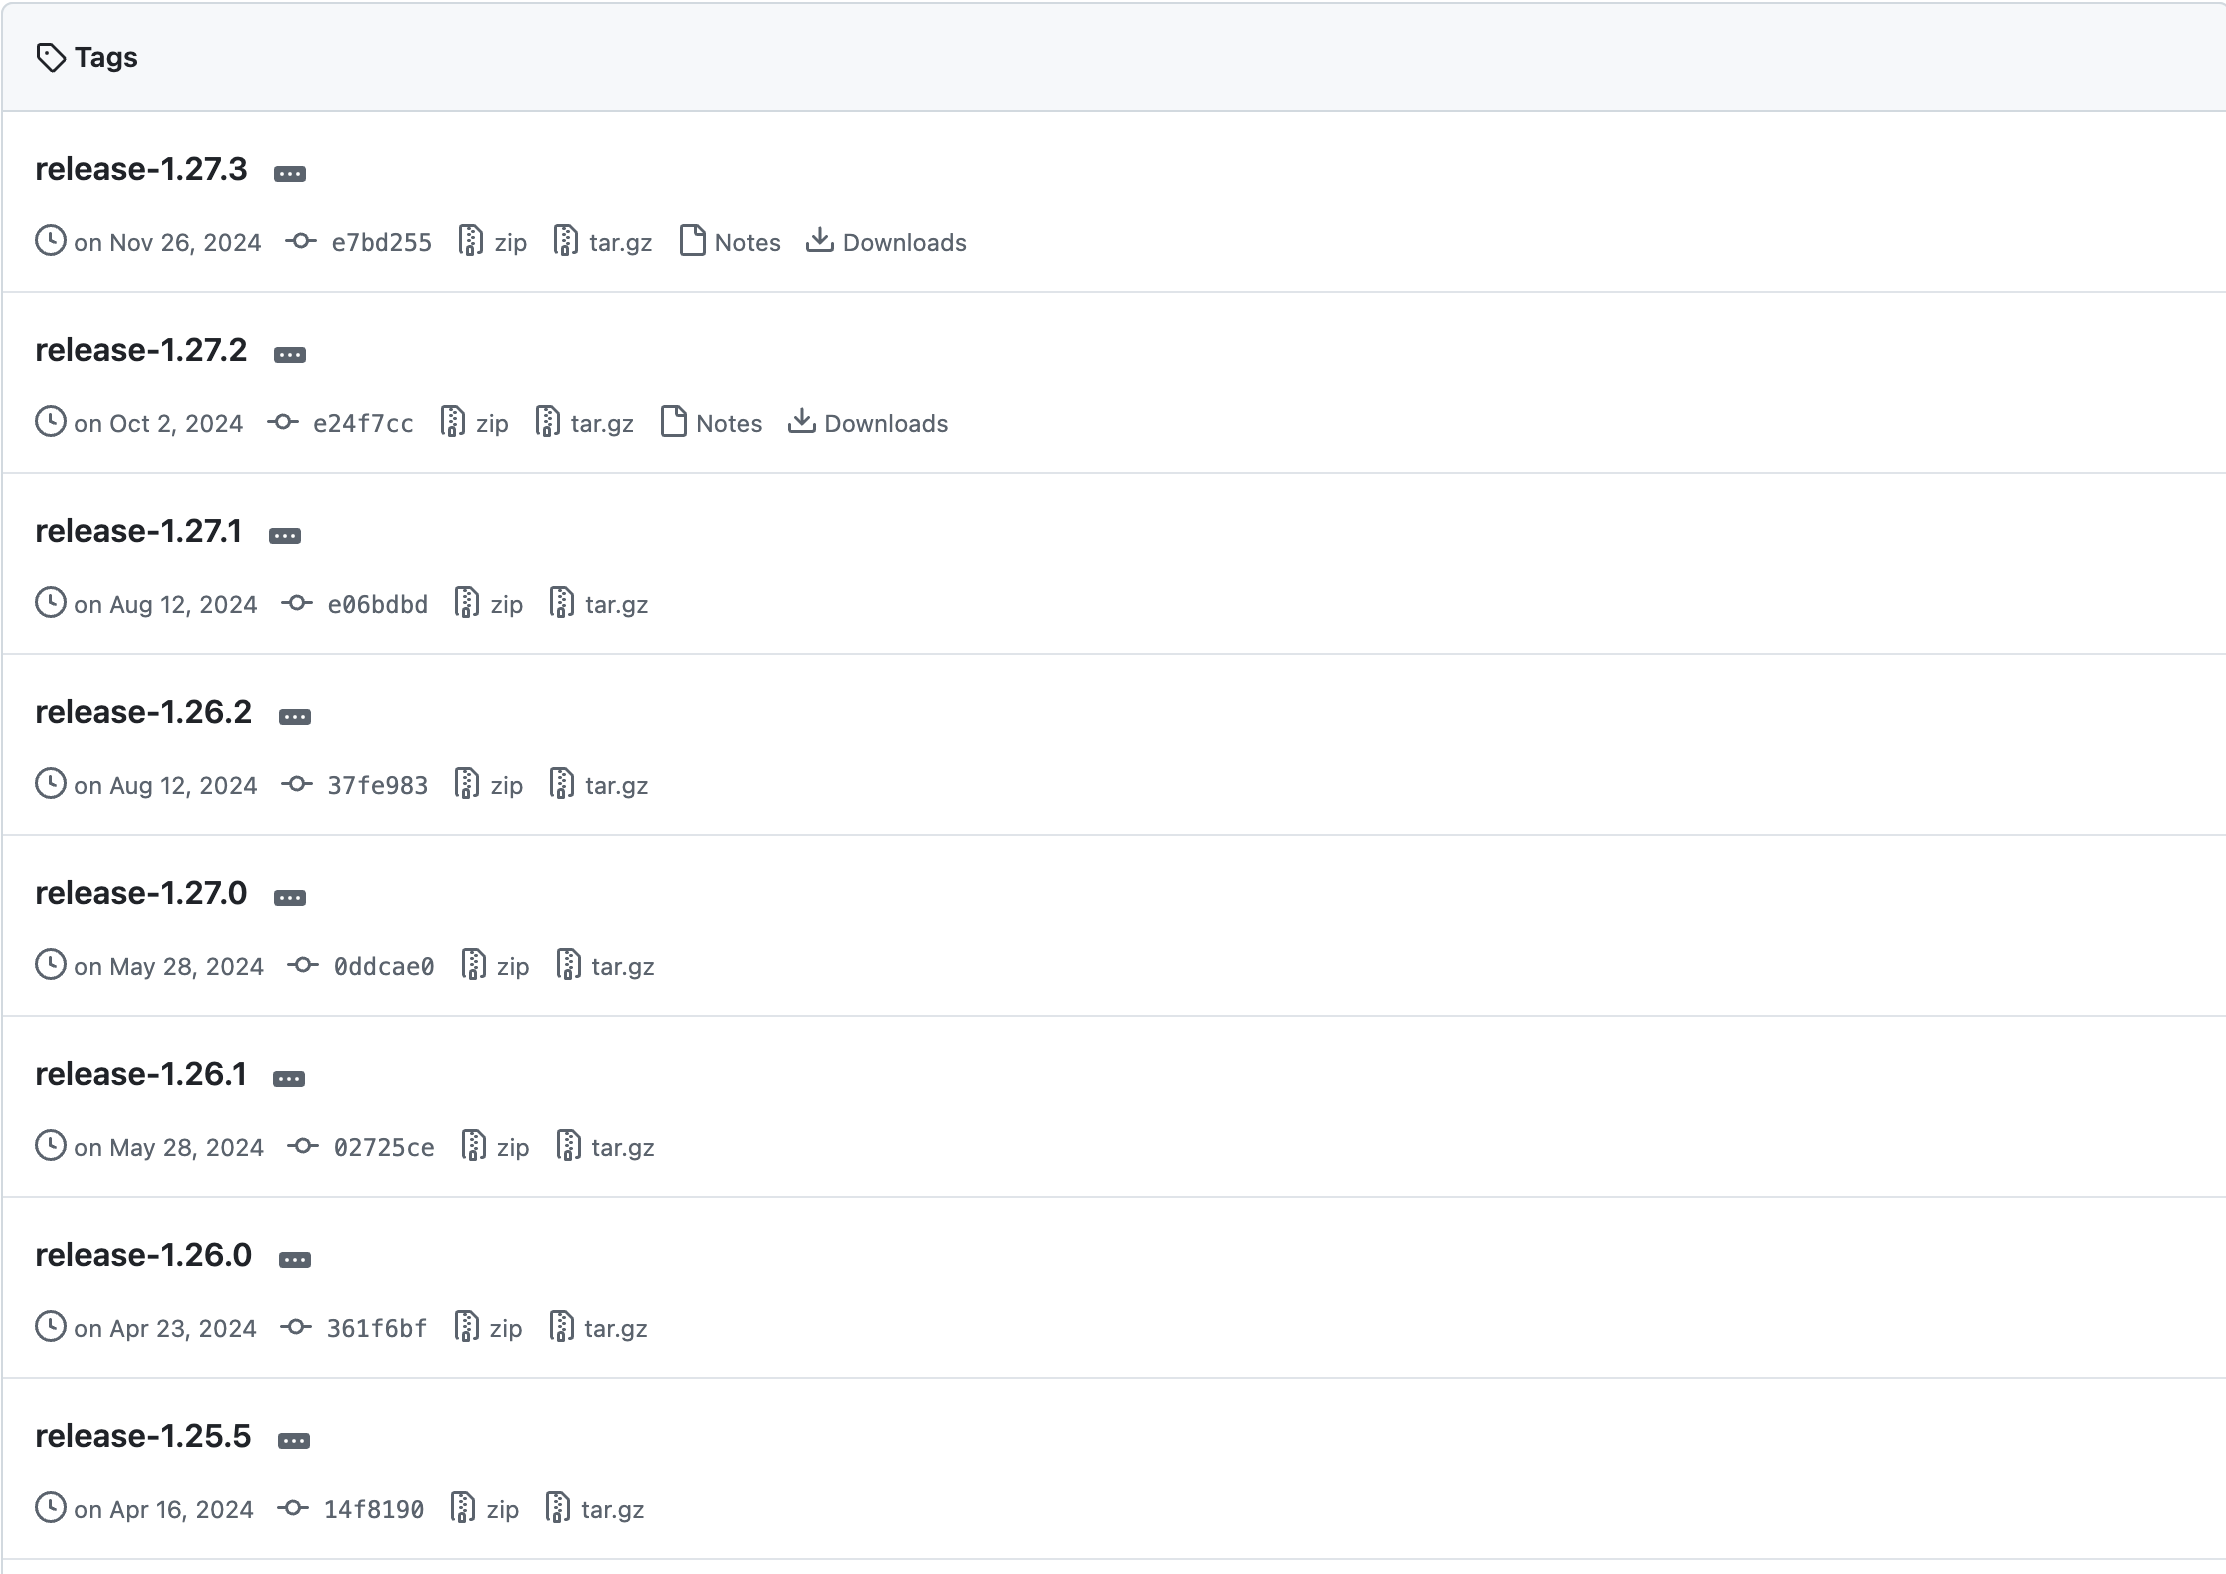
3. 以1.26版本为例,将项目下载到本地并解压。
wget https://github.com/nginx/nginx/archive/refs/tags/release-1.26.2.zipunzip release-1.26.2.zip
4. 进入项目文件夹,配置并生成必要的编译文件,需要在
configure命令后加上前面记录的 configure 参数。cd nginx-release-1.26.2auto/configure --prefix=/etc/nginx --sbin-path=/usr/sbin/nginx --modules-path=/usr/lib/nginx/modules --conf-path=/etc/nginx/nginx.conf --error-log-path=/var/log/nginx/error.log --http-log-path=/var/log/nginx/access.log --pid-path=/var/run/nginx.pid --lock-path=/var/run/nginx.lock --http-client-body-temp-path=/var/cache/nginx/client_temp --http-proxy-temp-path=/var/cache/nginx/proxy_temp --http-fastcgi-temp-path=/var/cache/nginx/fastcgi_temp --http-uwsgi-temp-path=/var/cache/nginx/uwsgi_temp --http-scgi-temp-path=/var/cache/nginx/scgi_temp --user=nginx --group=nginx --with-compat --with-file-aio --with-threads --with-http_addition_module --with-http_auth_request_module --with-http_dav_module --with-http_flv_module --with-http_gunzip_module --with-http_gzip_static_module --with-http_mp4_module --with-http_random_index_module --with-http_realip_module --with-http_secure_link_module --with-http_slice_module --with-http_ssl_module --with-http_stub_status_module --with-http_sub_module --with-http_v2_module --with-http_v3_module --with-mail --with-mail_ssl_module --with-stream --with-stream_realip_module --with-stream_ssl_module --with-stream_ssl_preread_module --with-cc-opt='-g -O2 -ffile-prefix-map=/data/builder/debuild/nginx-1.26.2/debian/debuild-base/nginx-1.26.2=. -flto=auto -ffat-lto-objects -flto=auto -ffat-lto-objects -fstack-protector-strong -Wformat -Werror=format-security -Wp,-D_FORTIFY_SOURCE=2 -fPIC' --with-ld-opt='-Wl,-Bsymbolic-functions -flto=auto -ffat-lto-objects -flto=auto -Wl,-z,relro -Wl,-z,now -Wl,--as-needed -pie'
5. 将 nginx-otel 的源码 clone 到本地。
git clone https://github.com/nginxinc/nginx-otel.git
6. 进入 nginx-otel 的文件夹,创建编译文件夹。
cd nginx-otelmkdir buildcd build
7. 启用相关配置项,开始编译。
说明:
此处的
/path/to/configured/nginx/objs 是之前生成的 Nginx 编译文件中 objs文件夹的路径,可以在 Nginx 源码文件夹中找到。cmake -DNGX_OTEL_NGINX_BUILD_DIR=/path/to/configured/nginx/objs ..make
编译完成后,会在
nginx-otel/build 文件夹下生成动态模块文件 ngx_otel_module.so,以下是 nginx-otel/build 文件夹下的所有文件示例。CMakeCache.txt CMakeFiles cmake_install.cmake _deps gens http_archives Makefile ngx_otel_module.so opentelemetry protos
8. 将
ngx_otel_module.so 文件移动到 /etc/nginx/modules 文件夹下(本文使用 Ubuntu 系统中 Nginx 的配置路径,其他系统的配置路径可能不同)。mvngx_otel_module.so /etc/nginx/modules
配置 nginx-otel
修改 nginx 配置文件
/etc/nginx/nginx.conf。load_module modules/ngx_otel_module.so; # 加载动态模块...http {...otel_exporter {endpoint ${ENDPOINT}; # APM 接入点}otel_trace on; # 开启链路追踪otel_service_name ${SERVICE_NAME}; # APM 应用名otel_trace_context propagate; # 将 W3C 请求头注入 TraceID,需要启用otel_resource_attr token ${TOKEN}; # 接入 tokenotel_resource_attr host.name ${HOST.NAME}; # 实例的主机名...}
对应的字段说明如下:
${SERVICE_NAME}:应用名,多个使用相同应用名接入的进程,在 APM 中会表现为相同应用下的多个实例。建议直接命名为
nginx。${ENDPOINT}:前置步骤中拿到的接入点。请注意该接入点为 Go 应用的 OpenTelemetry 接入点,不带 http 前缀。
${TOKEN} :前置步骤中拿到的 token。
${HOST.NAME}:该应用实例的主机名,是应用实例的唯一标识。通常情况下可以设置为该 Nginx 实例的 IP 地址。
完成配置后,通过
sudo nginx -s reload 重新加载配置文件,或者通过 service nginx restart 重启 Nginx 服务,即可完成接入。


